
Render beautiful pdf invoice with phoenix and pagedjs

In this blog post, using phoenix and pagedjs we are going to render invoice in pdf format.
Table of contents
- What is pagedjs ?
- Show me the code!
- Step 1: Create a new Phoenix project an install dependencies
- Step 2: Create the invoice model
- Step 3: Setup the Billing context with fake data
- Step 4: Add pagedjs to vendor
- Step 5: Create the pdf layout
- Step 6: Create the pdf.js and pdf.css and add it to esbuild
- Step 7: Create the Controller, view, templates and routes
- Step 8: Write the show invoice
- Ending
What is pagedjs ?
Paged.js is a free and open source JavaScript library that paginates content in the browser to create PDF output from any HTML content. This means you can design works for print (eg. books) using HTML and CSS!
Show me the code!
You can check the final repo on github.
Step 1: Create a new Phoenix project an install dependencies
Install the Phoenix project generator (if you don't already have it installed) by running:
mix archive.install hex phx_new 1.6.6
Now we can generate a new Phoenix project. I disable a lot of generator features because it's not needed here.
mix phx.new --no-ecto --no-gettext --no-dashboard --no-live --no-mailer billing
Don't forget to fetch the deps mix deps.get
Step 2: Create the invoice model
With your editor of choice create a new file called lib/billing/invoice.ex.
We create a struct Invoice Article Total PaymentInformation who will hold all the data necessary to render the invoice.
We could use a simple map as well but it helps to modelize the data properly.
I found it easier to make the view and less prone to key error.
defmodule Billing.Invoice do
  defstruct ~w(
    id
    title
    number
    seller
    client
    issued_on
    payment_due_date
    articles
    total
    payment_information
  )a

  @type t :: %__MODULE__{
          id: pos_integer(),
          title: String.t(),
          number: String.t(),
          seller: Company.t(),
          client: Company.t(),
          issued_on: DateTime.t(),
          payment_due_date: DateTime.t(),
          number: String.t(),
          articles: [Article.t()],
          total: Total.t(),
          payment_information: PaymentInformation.t()
        }

  defmodule Company do
    defstruct ~w(
      name
      logo
      address
      zip_code
      city
      country
      registration_number
      vat_number
    )a

    @type t :: %__MODULE__{
            name: String.t(),
            logo: String.t(),
            address: String.t(),
            zip_code: String.t(),
            city: String.t(),
            country: String.t(),
            registration_number: String.t(),
            vat_number: String.t()
          }
  end

  defmodule Article do
    defstruct ~w(
      details
      qty
      unit_price
      vat
      total_excl_vat
      total
    )a

    @type t :: %__MODULE__{
            details: String.t(),
            qty: integer(),
            # I recommand using https://hexdocs.pm/decimal or
            # https://hexdocs.pm/money in a real project
            unit_price: float(),
            vat: float(),
            total_excl_vat: float(),
            total: float()
          }
  end

  defmodule Total do
    defstruct ~w(
      total_excl_vat
      vat_amount
      total
    )a

    @type t :: %__MODULE__{
            # I recommand using https://hexdocs.pm/decimal or
            # https://hexdocs.pm/money in a real project
            total_excl_vat: float(),
            vat_amount: float(),
            total: float()
          }
  end

  defmodule PaymentInformation do
    defstruct ~w(
      bic
      iban
      reference
    )a

    @type t :: %__MODULE__{
            bic: String.t(),
            iban: String.t(),
            reference: String.t()
          }
  end
end
Step 3: Setup the Billing context with fake data
The context Billing is responsable to retrieve a list of invoice list_invoices and get them per id get_invoice(invoice_id).
We also put some fake data directly in the context.
defmodule Billing do
  alias Billing.Invoice
  alias Billing.Invoice.{Company, Article, Total, PaymentInformation}

  def list_invoices do
    invoices()
  end

  def get_invoice(id) do
    Enum.find(list_invoices(), &(&1.id == id))
  end

  # Fake invoices
  defp invoices do
    now = DateTime.utc_now()
    %{year: year} = now
    in_30_days = DateTime.add(now, 24 * 3600 * 30, :second)

    [
      %Invoice{
        id: 1,
        title: "Monthly Invoice",
        seller: phoenix_company(),
        client: elixir_company(),
        issued_on: now,
        payment_due_date: in_30_days,
        number: "#{year}-1",
        articles: [
          %Article{
            details: "Dev Day",
            qty: 10,
            unit_price: 400,
            vat: 20,
            total_excl_vat: 4000,
            total: 4800
          }
        ],
        total: %Total{
          total_excl_vat: 4000,
          vat_amount: 800,
          total: 4800
        },
        payment_information: payment_information()
      },
      %Invoice{
        id: 2,
        title: "Monthly Invoice",
        seller: phoenix_company(),
        client: elixir_company(),
        issued_on: now,
        payment_due_date: in_30_days,
        number: "#{year}-2",
        articles: Enum.map(~w(Jose Bob Michael Baptiste), fn developer ->
          %Article{
            details: "Dev days for #{developer}",
            qty: 10,
            unit_price: 400,
            vat: 20,
            total_excl_vat: 4000,
            total: 4800
          }
        end),
        total: %Total{
          total_excl_vat: 4000 * 4,
          vat_amount: 800 * 4,
          total: 4800 * 4
        },
        payment_information: payment_information()
      }
    ]
  end

  defp phoenix_company do
    %Company{
      name: "Phoenix Company",
      logo: "/logo.png",
      address: "10 rue de la truanderie",
      zip_code: "75001",
      city: "Paris",
      country: "France",
      registration_number: "123 456 789",
      vat_number: "FR 12 345 678 912"
    }
  end

  defp elixir_company do
    %Company{
      name: "Elixir Company",
      logo: nil,
      address: "14 Rue Chanoinesse",
      zip_code: "75004",
      city: "Paris",
      country: "France",
      registration_number: "123 456 789",
      vat_number: "FR 12 345 678 912"
    }
  end

  defp payment_information do
    %PaymentInformation{
      bic: "TRZ0FR12345",
      iban: "FR76 1234 5678 9123 4567 8912",
      reference: "sl432432"
    }
  end
end
Step 4: Add pagedjs to vendor
We need to dowload pagedjs and add it to our vendor.
curl https://unpkg.com/pagedjs@0.2.0/dist/paged.js --output assets/vendor/paged.js
You can also use npm if you prefer the name of the package is ... pagedjs
Step 5: Create the pdf layout
We only want to load pagedjs on the page where we will show our pdf preview, we are going to create a js file and a css that will only be called if the root pdf layout is used. We also need a small ui that will wrap the pdf preview generated by pagedjs.
Create a root layout file lib/billing_web/templates/layout/pdf.html.heex.
<!DOCTYPE html>
<html lang="en">
  <head>
    <meta charset="UTF-8">
    <meta http-equiv="X-UA-Compatible" content="IE=edge"/>
    <meta name="viewport" content="width=device-width, initial-scale=1.0">
    <%= live_title_tag assigns[:page_title] || "Billing", suffix: " · Phoenix Framework" %>
    <link phx-track-static rel="stylesheet" href={Routes.static_path(@conn, "/assets/pdf.css")}/>
    <script defer phx-track-static type="text/javascript" src={Routes.static_path(@conn, "/assets/pdf.js")}></script>
  </head>
  <body>
    <div id="layout" class="layout">
      <aside id="aside"></aside>
      <main>
        <header id="header"></header>
        <div id="grid" class="grid">
          <div id="menu" class="menu">
            <div id="block" class="block">
              <div>Print</div>
              <div class="button-print">Print</div>
            </div>
          </div>
          <div id="preview"></div>
        </div>
      </main>
    </div>
    <div id="root">
      <%= @inner_content %>
    </div>
  </body>
</html>
Step 6: Create the pdf.js and pdf.css and add it to esbuild
Create the file assets/js/pdf.js
// We import the CSS which is extracted to its own file by esbuild.
// Remove this line if you add a your own CSS build pipeline (e.g postcss).
import '../css/pdf.css'

// Adapt the import if you use npm
import { Previewer } from '../vendor/paged.js'

const previewer = new Previewer()
const html = document.querySelector('#root').innerHTML
const $preview = document.querySelector('#preview')

// pagedjs will take the content we put in #root html variable
// and will paginate it nicely in a4 format if it does not fit in one page
// we can get a preview in html format and put it in the dom node $preview variable
previewer.preview(html, ['/assets/pdf.css'], $preview)

// add a click event on print button to ... print
document
  .querySelector('.button-print')
  .addEventListener('click', (_e) => window.print())
Create the file assets/css/pdf.css
body {
  font-family: ui-sans-serif, system-ui, -apple-system, BlinkMacSystemFont, 'Segoe UI',
    Roboto, 'Helvetica Neue', Arial, 'Noto Sans', sans-serif, 'Apple Color Emoji',
    'Segoe UI Emoji', 'Segoe UI Symbol', 'Noto Color Emoji';
  background: #f6f8f9;
  padding: 0;
  margin: 0;
}

@page {
  margin: 0.5in 0.5in;

  @bottom-right {
    /* format the page number */
    content: 'Page ' counter(page) ' of ' counter(pages);
    font-size: 9px;
    color: #606d78;
  }
}

/* important class we use to force a new page */
.no-break {
  break-inside: avoid;
}

/* preview UI style */
#root {
  display: none;
}

#layout {
  display: flex;
}

#aside {
  width: 192px;
  flex: 0 0 192px;
  background: #011627;
  min-height: 100vh;
}

#header {
  background: #fff;
  height: 110px;
  border-bottom: 1px solid #d6d9dc;
}

main {
  flex: 1 1;
}

#grid {
  display: table;
  border-collapse: collapse;
  border: 0;
}

#menu {
  display: table-cell;
  position: relative;
  width: 360px;
  border: 0;
}

#block {
  box-sizing: border-box;
  position: sticky;
  top: 1.5rem;
  background: #fff;
  border: 1px solid #d6d9dc;
  margin: 1.5rem;
  margin-right: 0;
  border-radius: 4px;
  padding: 1rem;
}

.button-print {
  cursor: pointer;
  box-sizing: border-box;
  width: 100%;
  background: #5541ea;
  color: #fff;
  border-radius: 4px;
  padding: 1rem;
  font-weight: 600;
  text-align: center;
  margin-top: 1rem;
}

#preview {
  display: table-cell;
  vertical-align: top;
  border: 0;
  padding: 0;
  margin: 0;
}

@media print {
  #root,
  #aside,
  #header,
  #menu {
    display: none;
  }
  #preview {
    display: block;
  }
  #preview .pagedjs_page {
    border: initial !important;
    border-radius: 0 !important;
  }
}

.pagedjs_page {
  background: white;
  border: 1px solid #d6d9dc;
  border-radius: 4px;
  margin: 1.5rem;
}

/* utility class used for the invoice */
.grid-2 {
  display: grid;
  grid-template-columns: 1fr 1fr;
  column-gap: 1rem;
}

.uppercase {
  text-transform: uppercase;
}

.text-lg {
  font-size: 1.125rem;
}

.text-right {
  text-align: right;
}

.text-slate-500 {
  color: rgb(51 65 85);
}

.text-slate-900 {
  color: rgb(15 23 42);
}

.font-bold {
  font-weight: 700;
}

.mt-4 {
  margin-top: 1rem;
}

.p-4 {
  padding: 1rem;
}

.mt-8 {
  margin-top: 2rem;
}

.bg-logo {
  /* We need to set this property otherwise the backgroundColor dissapear on pdf more info on the link below
   * https://stackoverflow.com/questions/14987496/background-color-not-showing-in-print-preview
   * */
  -webkit-print-color-adjust: exact;
  background-size: contain;
  background-repeat: no-repeat;
  width: 200px;
  height: 143px;
}

.bg-lightblue {
  background-color: rgb(241 247 253);
  /* We need to set this property otherwise the backgroundColor dissapear on pdf more info on the link below
   * https://stackoverflow.com/questions/14987496/background-color-not-showing-in-print-preview
   * */
  -webkit-print-color-adjust: exact;
}

.table {
  border-collapse: collapse;
  table-layout: auto;
  width: 100%;
}

.table td {
  padding: 1rem;
}
Let's add pdf.js to our esbuild config. I also upgraded the target to es2021 pagedjs does not work if the target is less that es2018
config :esbuild,
  version: "0.14.0",
  default: [
    args:
      ~w(js/app.js js/pdf.js --bundle --target=es2021 --outdir=../priv/static/assets --external:/fonts/* --external:/images/*),
    cd: Path.expand("../assets", __DIR__),
    env: %{"NODE_PATH" => Path.expand("../deps", __DIR__)}
  ]
Step 7: Create the Controller, view, templates and routes
We will have two routes /invoices who will list all the invoices and /invoices/:invoice_id who will render the invoice pdf preview per invoice_id.
Create the controller file lib/billing_web/controllers/invoice_controller.ex.
defmodule BillingWeb.InvoiceController do
  use BillingWeb, :controller

  def index(conn, _params) do
    invoices = Billing.list_invoices()
    render(conn, "index.html", invoices: invoices)
  end

  def show(conn, %{"invoice_id" => invoice_id}) do
    invoice =
      invoice_id
      |> String.to_integer()
      |> Billing.get_invoice()

    render(conn, "show.html", invoice: invoice)
  end
end
Create the view file lib/billing_web/views/invoice_view.ex
defmodule BillingWeb.InvoiceView do
  use BillingWeb, :view
end
Create a directory lib/billing_web/templates/invoice
Create a file lib/billing_web/templates/invoice/index.html.heex
We simply list all the @invoices and generate link to them.
<%= for invoice <- @invoices do %>
  <%= link(invoice.number, to: Routes.invoice_path(@conn, :show, invoice.id)) %>
<% end %>
Create a file lib/billing_web/templates/invoice/show.html.heex leave it empty we will come back on it.
defmodule BillingWeb.Router do
  use BillingWeb, :router

  pipeline :browser do
    plug :accepts, ["html"]
    plug :fetch_session
    plug :fetch_live_flash
    plug :put_root_layout, {BillingWeb.LayoutView, :root}
    plug :protect_from_forgery
    plug :put_secure_browser_headers
  end

  pipeline :pdf do
    # We use our root layout pdf instead of root
    plug :put_root_layout, {BillingWeb.LayoutView, :pdf}
    # We don't need a layout
    plug :put_layout, false
  end

  scope "/", BillingWeb do
    pipe_through [:browser]

    get "/invoices", InvoiceController, :index
  end

  scope "/", BillingWeb do
    pipe_through [:browser, :pdf]

    # this route will use our root layout pdf and require our pdf.js and pdf.css
    get "/invoices/:invoice_id", InvoiceController, :show
  end
end
After this point you should be able to go to /invoices and see our list of invoices.
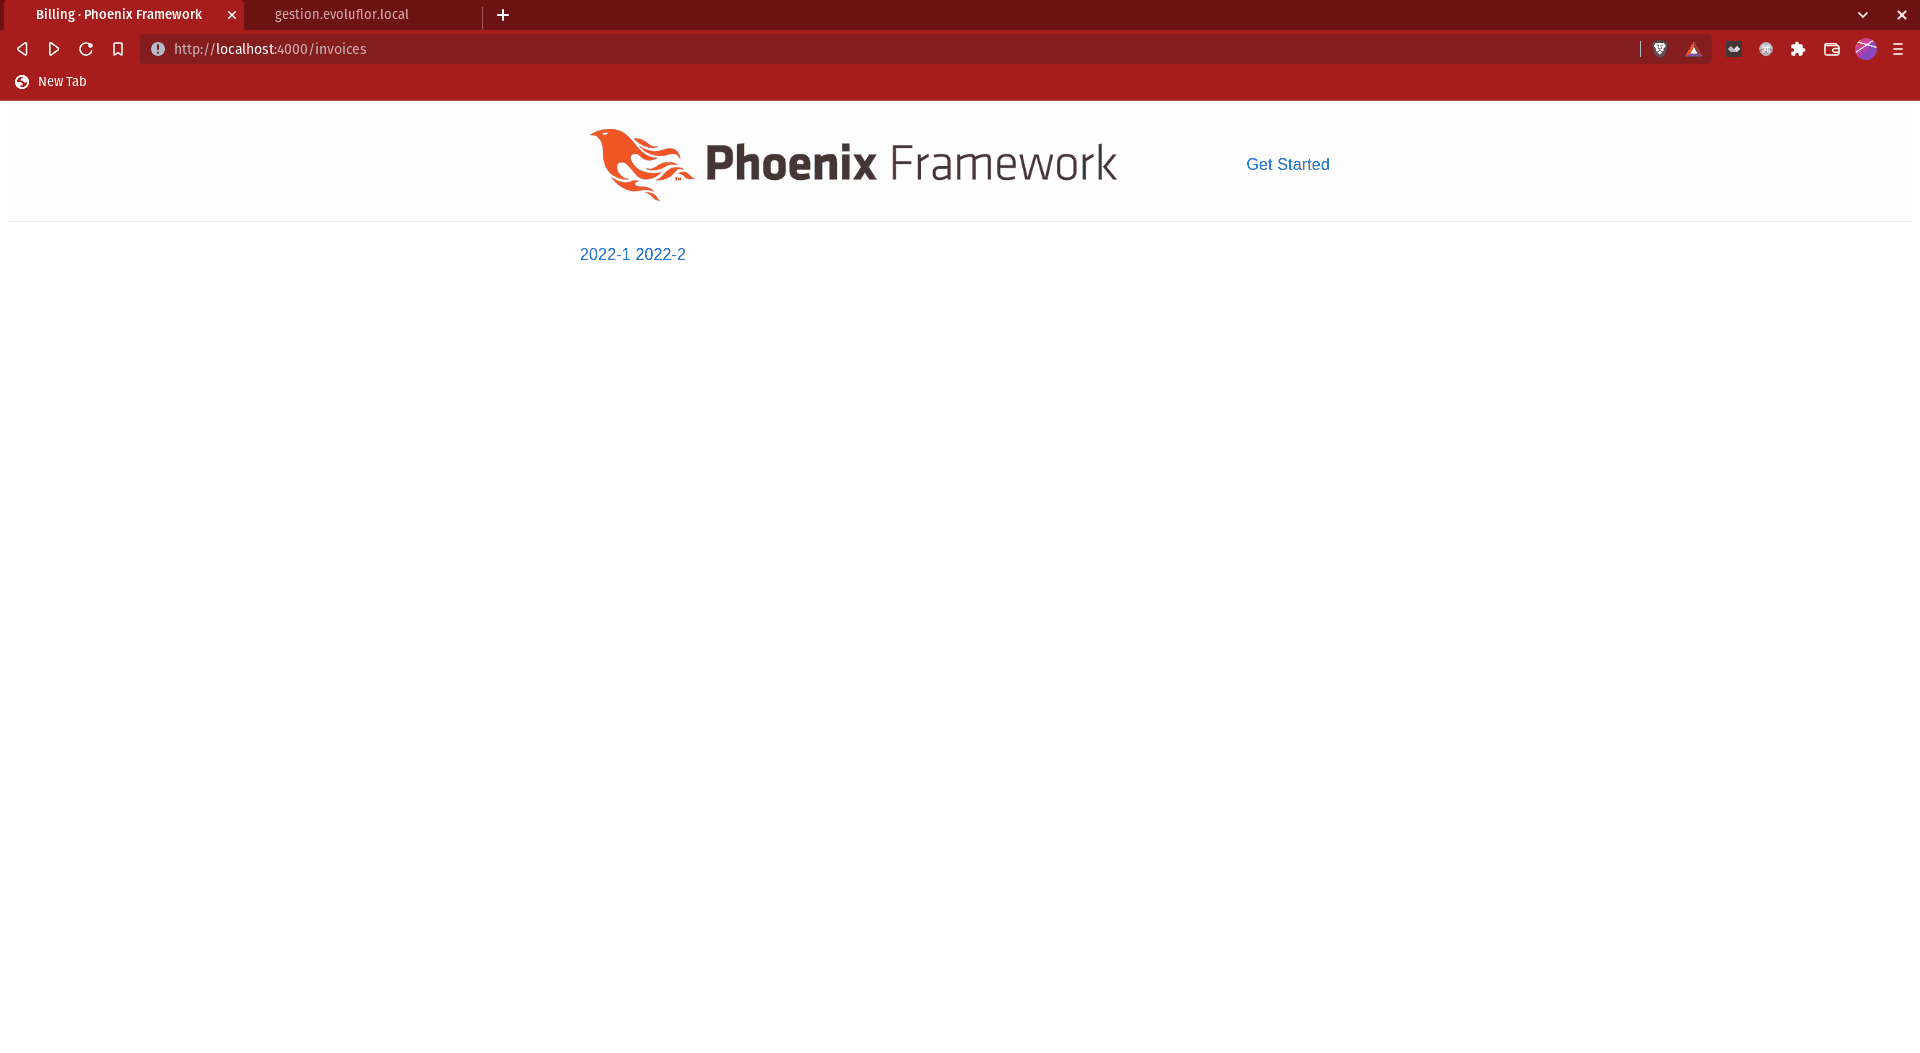
You can click on one of them but the preview will be empty until we finish last step.
Step 8: Write the show invoice
Edit lib/billing_web/templates/invoice/show.html.heex
Here we are consuming the @invoice data and make it look nice using our utility class.
<div class="grid-2">
  <div>
    <% logo = Routes.static_path(@conn, "/images/#{@invoice.seller.logo}") %> <%
    bg_logo = "background-image: url(#{logo})" %>
    <div class="bg-logo" style="{bg_logo}"></div>
    <div class="text-lg font-bold uppercase text-slate-900">
      <%= @invoice.seller.name %>
    </div>
    <div class="mt-4 text-slate-500">
      <div><%= @invoice.seller.address %></div>
      <div><%= @invoice.seller.zip_code %> <%= @invoice.seller.city %></div>
      <div><%= @invoice.seller.country %></div>
    </div>
    <div class="mt-4 text-slate-500">
      <div>Registration number: <%= @invoice.seller.registration_number %></div>
      <div>Vat number: <%= @invoice.seller.vat_number %></div>
    </div>
    <div class="mt-4 text-slate-500">
      <div>Invoice number: <%= @invoice.number %></div>
      <div>Issued on: <%= @invoice.issued_on %></div>
      <div>Payment due date: <%= @invoice.issued_on %></div>
    </div>
  </div>

  <div class="text-right">
    <div class="bg-logo"></div>
    <div class="text-lg font-bold uppercase text-slate-900">
      <%= @invoice.client.name %>
    </div>
    <div class="mt-4 text-slate-500">
      <div><%= @invoice.client.address %></div>
      <div><%= @invoice.client.zip_code %> <%= @invoice.client.city %></div>
      <div><%= @invoice.client.country %></div>
    </div>
    <div class="mt-4 text-slate-500">
      <div>Registration number: <%= @invoice.client.registration_number %></div>
      <div>Vat number: <%= @invoice.client.vat_number %></div>
    </div>
  </div>
</div>

<%# wrapping content with a no-break class prevent the content to break on
multiples pages %>
<div class="no-break">
  <div class="mt-8 font-bold text-slate-900"><%= @invoice.title %></div>
  <table class="mt-4 table text-slate-500">
    <thead class="bg-lightblue">
      <tr>
        <td class="bold text-slate-900">Details</td>
        <td>Qty</td>
        <td>Unit price</td>
        <td>Vat %</td>
        <td>Total excl. Vat</td>
      </tr>
    </thead>
    <tbody>
      <%= for article <- @invoice.articles do %>
      <tr>
        <td class="text-slate-900"><%= article.details %></td>
        <td><%= article.qty %></td>
        <td>€<%= article.unit_price %></td>
        <td><%= article.vat %>%</td>
        <td>€<%= article.total_excl_vat %></td>
      </tr>
      <% end %>
      <tr>
        <td></td>
        <td colspan="3">Total excl. VAT</td>
        <td>€<%= @invoice.total.total_excl_vat %></td>
      </tr>
      <tr>
        <td></td>
        <td colspan="3">VAT</td>
        <td>€<%= @invoice.total.vat_amount %></td>
      </tr>
      <tr class="bold text-slate-900">
        <td></td>
        <td class="bg-lightblue" colspan="3">Total</td>
        <td class="bg-lightblue">€<%= @invoice.total.total %></td>
      </tr>
    </tbody>
  </table>
</div>

<div class="no-break">
  <div class="mt-8 font-bold text-slate-900">Payment information</div>
  <div class="mt-4 text-slate-500">
    <div>BIC: <%= @invoice.payment_information.bic %></div>
    <div>IBAN: <%= @invoice.payment_information.iban %></div>
    <div>Reference: <%= @invoice.payment_information.reference %></div>
    <div>
      To use as a label on your bank transfer to identify the transaction
    </div>
    <div class="bg-lightblue mt-4 p-4">
      Payment possible by SEPA transfer only, SWIFT transfers are not accepted.
    </div>
  </div>
</div>
Ending
Well done you reach the end 🎉. I hope you enjoyed this tutorial and learned some stuff along the way.